How to change your system locale on Windows
- Mar 24, 2024
- 1 min read
Changing your system's locale changes the language used when displaying text in programs that do not support Unicode. This setting can be useful when downloading programs written in other languages, for example.
Step 1: Open Control Center
After starting the program you should see a screen like this:

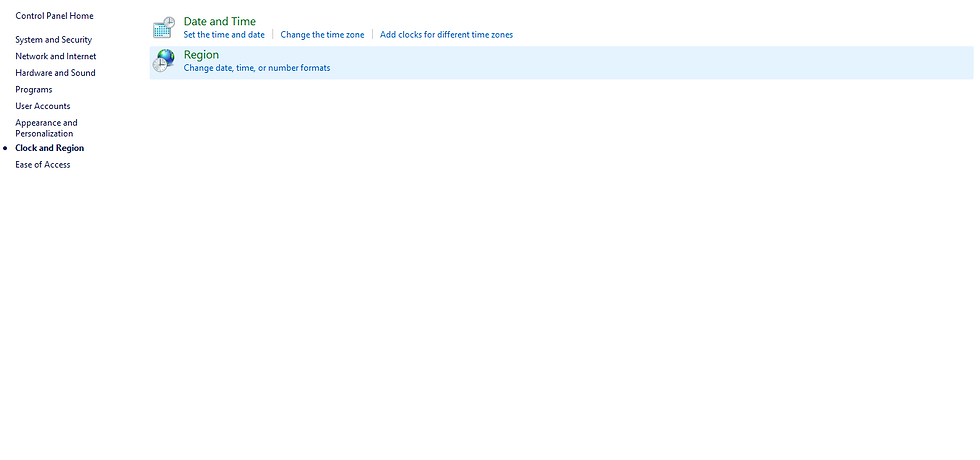
Step 2: Select "Clock and Region"
Click on the "Clock and Region" button. It should take you to this screen:
Step 3: Select "Region"
Click on the "Region" button. You should now see the window to the left. Click on the "Administrative" tab, and you will see the window to the right.

Step 4: Press "Change system locale". Note: You must be an administrator on your computer to do this. You should now see this window.

Choose a country/language from the drop down menu and click "OK". I recommend not selecting "Beta: Use Unicode UTF-8 for worldwide language support", as you may encounter some problems afterward.

Comments